Cuddly Gourds

The children had big plans when we made our annual pilgrimage to the pumpkin patch last month. They all declared that they want large pumpkins, not small ones. Yet, when it came time to make the selection, they steered clear of all of the plump options that I tried to point them to after realizing that their little arms can only carry so much. And that is how we came home with diminutive pumpkins this year. Cute, certainly, but not much material to work with when attempting to decorate a fireplace.
Fall abruptly arrived in the Bay area this year, so we're actually donning cozy sweaters BEFORE Thanksgiving this year. And so it dawns on me one day, "Hey, I can make GIANT pumpkins out of these things." With minimal effort, to boot! At first, I was a bit stumped over what to use for the stem. Then I remembered that we have a broken tree branch that's going nowhere fast sitting right there in our backyard, so that's how I ended up going all Lumber Jack Joe with a saw to make lemonade out of lemons. Once you have the supplies, this really is an easy project that any novice sewer can tackle. I easily made three in an afternoon.
What you will need:
- a couple old sweaters (I used two sweataer dresses and one tunic from the thrift store)
- scissors
- doll needle
- thread in a color that matches the sweater
- polyfill
- broken tree branch

STEP 1: Saw off roughly 4" segments of the branch to make pumpkin stems. I stripped off the outer bark because I like the bare wood look, but that's completely up to personal preference. A flathead screwdriver helps when prying off the bark. Bake the segments in an oven at 250 degrees for 90 minutes to dry them out a bit.

STEP 2: Cut the sweater right under the arm hole, leaving just a tube.


STEP 3: Flip the sweater tube inside out. Sew a half inch basting stitch around the entire bottom edge of the sweater. Pull tight and secure with a few additional stitches.

STEP 4: Flip tube so the sewing edges are now on the inside. The side that was just sewn shut serves as the base of the pumpkin. Fill sweater bag with polyfill. Run another basting stitch around the top edge of the sweater. Insert the stem. Pull tight. Secure with a few additional stitches.


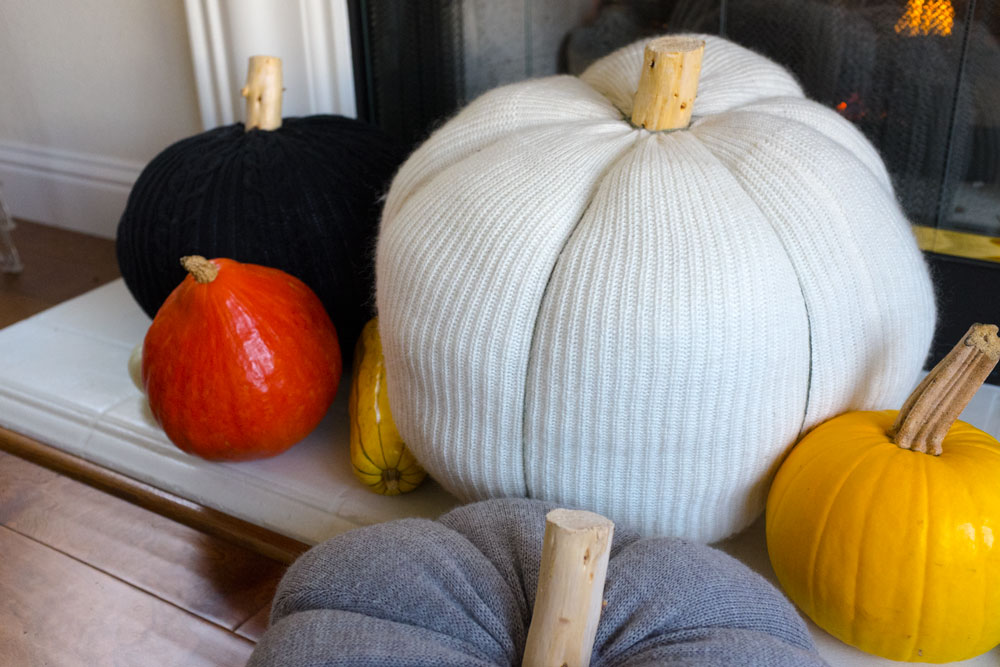
STEP 5 (optional): Create indentations around the pumpkin by either sewing long stitches through the top and bottom then pulling to form the indent. For the white pumpkin, I opted to simply wrap thin twine around the pumpkin because it was just too big to sew through.
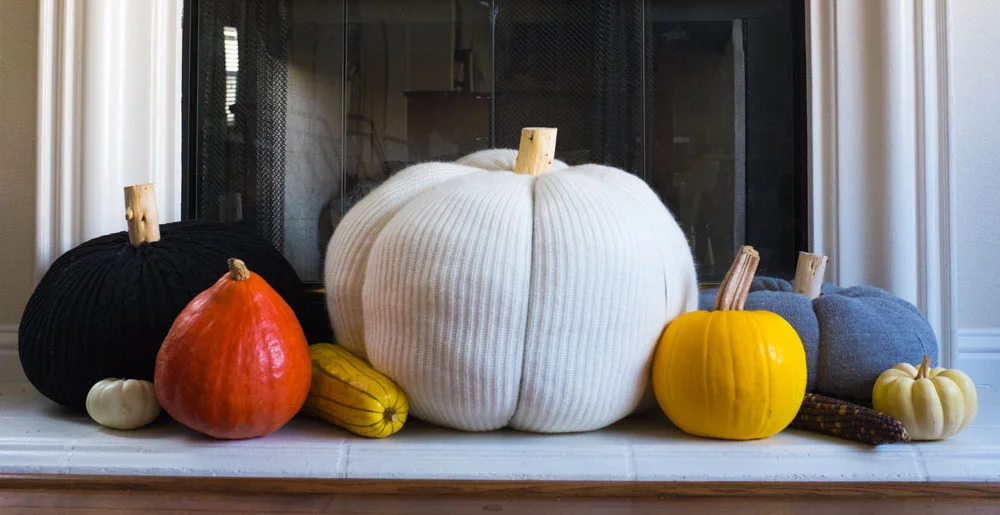
It's hard to tell who loves these sweater pumpkins more, me or the kids. At least I haven't tried to smuggle one into bed with me. Yet.